Tuesday, October 28, 2014

Story of a pot gone bad

The story of a very bad pot:  looks so innocent sitting on shelf between glazes doesn't it?
In it's early life, after bisque but before glazing:
I didn't like the sloppy way I painted on the underglaze so I decided to steer this poor pot on its path to ruination, see above as it awaits more glaze
The rest  is history, pot stuck to shelf made a huge mess see previous posting, but alas, quite a beauty in death:  


and the moral of the story is--------------

The Good, the Bad, and the Ugly

OK opened up kiln yesterday, as the title says, a bit of all.     But maybe I should begin with the "good".  There were a few:  


The heart plate above was made using this foam cut.  The first "regular" thickness foam I cut on my new Cricut Explore which resulted in deeper impressions.  I think the raggedly edges of the cut are not as good as the cleaner edges I get from the Cameo, but on clay, it doesn't seem to matter, so I now have the option of deeper impressions if I want them.  Here is the foam cut:


Then there were the bad and the ugly
The testing of the "new" Spectrum Green Mirror Glaze did not work out well, Caused the piece to crack, but to be fair, it probably wasn't constructed well, although it made it through the bisque firing.

  But the piece that made the biggest mess was the one that totally stuck to the kiln shelf, "and" ran off shelf onto another piece below.  While kiln was ramping up,  I remembered, while lying in bed, that one item I glazed with 3 coats of Spectrum "Old Copper" I had not elevated    ( put on stilt) in case the glaze ran. Well it ran all right.  But there is a lot to be learned here.  The piece is  goner, but I do like the way that glaze did over black underglaze and will try it again, next time with more care regarding the glaze running.  I had used the glaze before on a couple of single fired pieces shown here last May.  These were flattish pieces and I could see some running underneath, but it was not  problem.  Maybe I only used 2 coats also.  When in doubt, protect the bottoms and shelves, lesson learned.


As I loaded up kiln, I had this pushed to edge of shelf and that glaze just ran down on item on lower shelf too:  You can see this down he frog's back here:
More later----

Sunday, October 26, 2014

Announcing kiln load "before" opening is pretty risky but---

All the items in previous posting and a few not made with foam cuts have been glazed and kiln just finished, but must wait 24 hours to unload.  Will I share results?  As every potter know, there are so many surprises in the glazing business, esp since I never use same things and use every kiln load to experiment a bit also.  So, fingers crossed until tomorrow morning when it will be safe to open.  Recently I have been single firing but have encountered some issues with just some of the items with pinholing glazes, etc., so this time I bisqued "most" of the items now in the kiln, small handful though went in as single fired.  I got some Spectrum low fire metallic glaze in the mail as I was glazing on Friday, so one of the items has been glazed in Mirror Green.  Will be interested to see what that looks like.  So, if not posting tomorrow you will all know it was a "bust.!"  but maybe I'll share that too, everyone has them.  Til the morrow.

Thursday, October 23, 2014

pottery made using foam texture templates

Awaiting glaze.


Made using foam template on right


Made using this foam template used thicker foam --all others made with thin foam from Dollar Tree I hand cut the insides of scalloped edge after leather hard
Easy to do since they were impressed from foam

damask pattern on round box created by this foam cut with Cameo packing tape applied to back before separating negative from positive.  Putting packing tape on one side before removing from cutting mat then more packing tape on other side you
Then can separate the design leaving positive on one side and negative on other both of which can be used

 
used foam cut below to get raised design then handpainted with black or gray underglazes


Friday, October 17, 2014

Update on using embossing pen in Cameo

I bought the new penholders from Amazon, hoping they would work with the embossing pens from Ranger in the Cameo, but none of them worked, so back to plan B, simple and cheap foam cushions from dollar store, I had tried to push these onto the pens without any luck, plus they were too narrow to fit the Cameo,"but" I sliced it down and it worked perfectly
Here is the pen shown in the holder, doesns't go all the way around but works just fine.  I needed something I could slip on and off quickly so that I could put the cap back on the pens so they wouldn't dry out.
\
The pen now fits in the holder nicely and I quickly sketched and embossed this design on scrap cardstock, excuse the paint splatters.  So now I can use the Cameo to sketch and heat emboss any design in my files as needed.

Wednesday, October 08, 2014

More experiments with those Ranger "Emboss It" Pens

OK, so you don't have a Cricut, Explore, or even a Silhouette Cameo, those embossing pens are still pretty wonderful.  Just print out whatever designs/images you want on whatever project you are working on, and use pens to trace over design.  Then sprinkle with embossing powder and zap with heat gun and you get the same effect.  I had previously printed designs onto deli paper and blogged it here:   see the kids on bicycles that I "printed" in gray, just to test what I would get, but now I quickly scribbled over them with the black Emboss It Pen then sprinkled it with fine clear embossing powder, and now it looks like this (I intentionally didn't fill in everything to see what it would look like),


Then I tried using Embossing Pen in Black on other Deli Paper.  I had printed butterflies in Blue and printed them onto deli paper but they were too faded so I traced a couple with the embossing pen in black and doodled on paper also and here is result:
Then I wondered if the emboss it pen would work on the fabric I printed of one of my painted deli papers and it worked sort of.  I still had the fabric on the carrier sheet and had not removed it, so I traced over a butterfly that I had printed, in these pictures you can see the powder sprinkled on the half of the butterfly I had traced with the emboss it pen, then a pic of what it looked like after using heat gun.  It left a texture, but not the smooth shiny texture you get on a non pourous surface, but I guess I could go over it again and build up layers  Anyway good for experimenting:


Monday, October 06, 2014

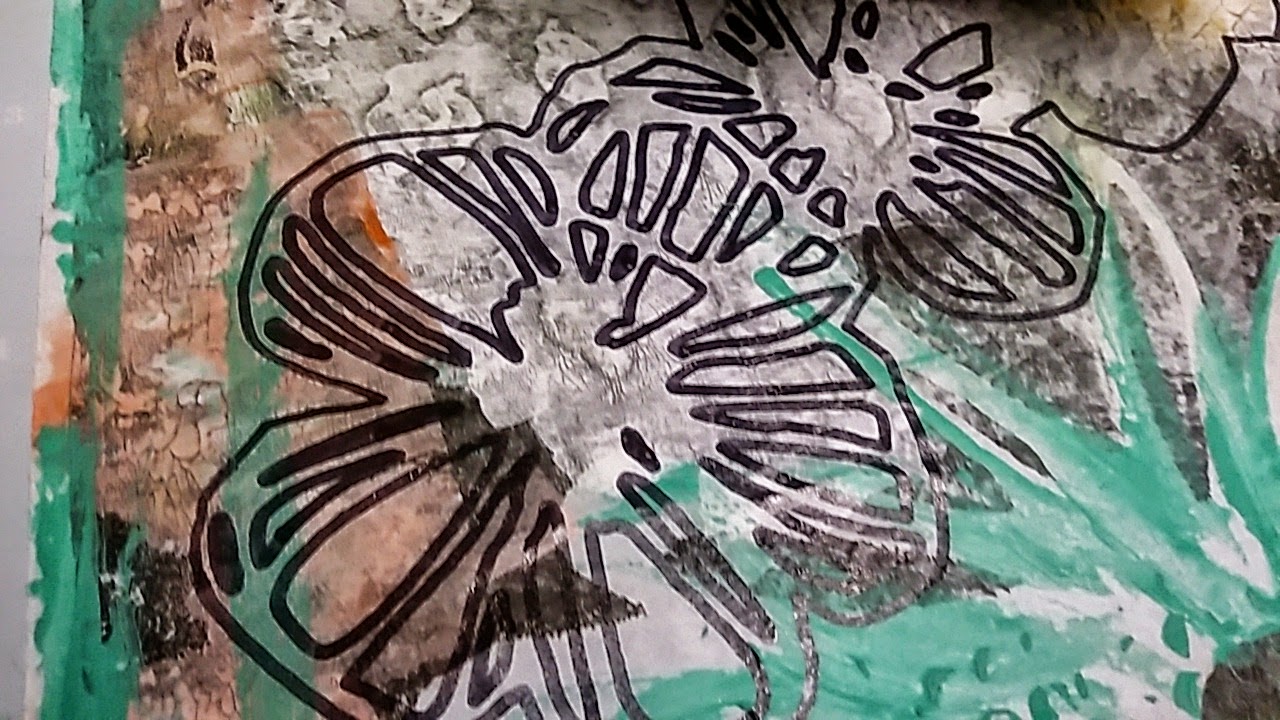
Heat Embossing Cricut Explore drawn image on painted deli paper

Turn your speaker off/down so noisy heat gun won't drive you mad!  I think it takes a bit longer since it is on top of acrylic paint, but I am not sure.  I will have to try a plain one on paper or cardstock.
But if you have not tried heat embossing, this will show you how it is done, Love that my machine
can sketch designs to be heat embossed.  Will also have to try text.


Turn your speaker off/down so noisy heat gun won't drive you mad!

More heat embossing using Cricut Explore

Well, I decided to give my Explore another heat embossing run.  I used another painted deli paper and created a flower sketch.  First trial run, I had not pushed embossing pen down far enough and was afraid to abort, so I let it go til the end, (so tip was exposed to the air all this time, but still did not dry out), then I pushed pen down and hit the Cricut go button again to do all over without unloading the mat, not that it would have mattered if I had.  So, here are some pictures and videos--see above for Cricut Explore drawing design.  Also I will publish from You Tube a video of image being hit with heat gun to raise like engraving.


Closeup you can see raised shiny embossing