I am not competent enough to edit it so you wouldn't get dizzy, but since project has been completed, I cannot redo it.
Comments: I keep calling it Peel and Stick, but it really is Glad "Press and Seal"

that I am using. I also gave info on the Tim Holtz palette.

I had camera and paper towel in one hand, and was painting, etc with other, so not the best method. But I offer it so that you can see what I did. If you want to skip the video, here are my steps
1. Bought palette after experimenting using found packaging to dry alcohol inks and liked it
Eliminates most of the mess and potential accidents associated with using alcohol inks.
See my blog posting here.
2. Did not like that I couldn't identify colors once inks were dried on palette.
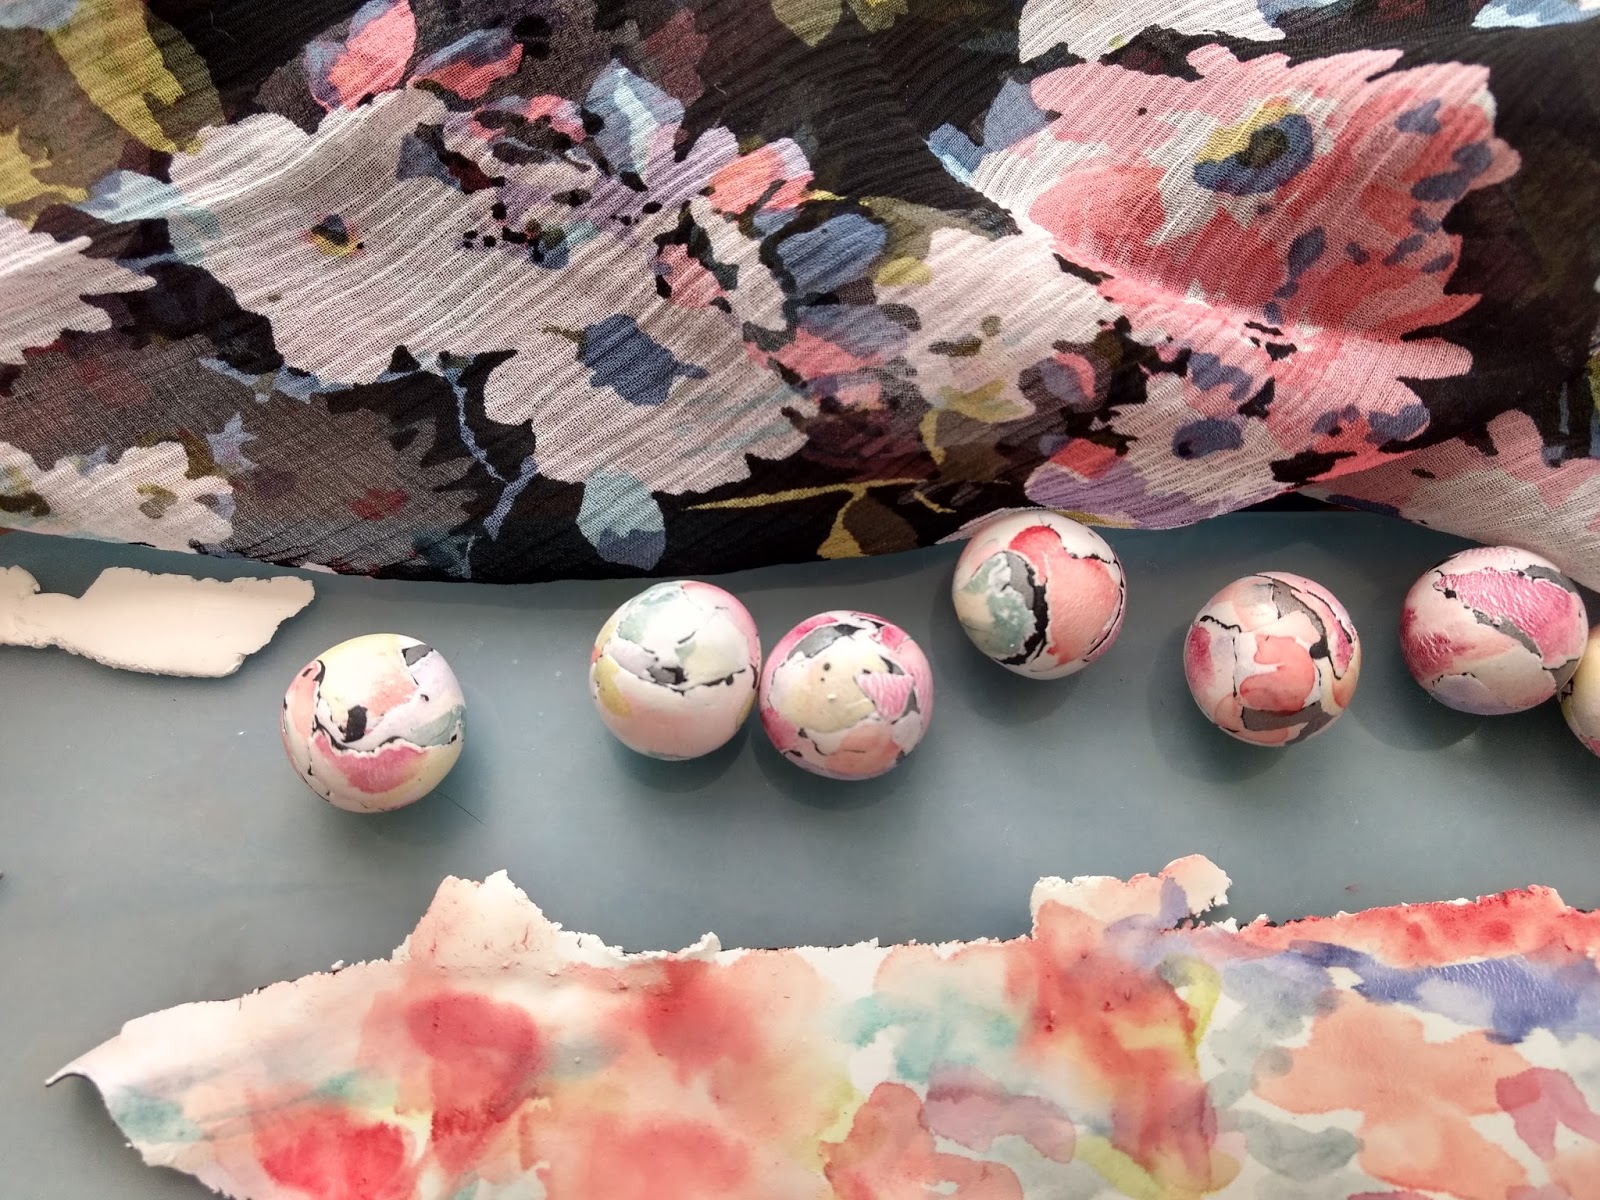
3. Also wanted to see what the colors looked like when applied to white polymer clay
4. Squirted my inks into receptacles in palette
5. Kept record of which inks were where in palette
6. Made raw white (Souffle) clay disks and placed them on the Press and Seal in exact placement as inks on palette.
7. Using my brush pens (see blog posting on these here) (Honbay 3pc water Brush Watercolors Pens Art Painting Brushes} I added color from ink palette reservoirs to each clay disk, as indicated on my paper record.
8. Let them dry, then faced with a dilemma, I wanted to cover these disks with the Press and Seal, but was afraid it would lift the color off of the disks (I ultimately discovered it would), so I covered each disk first with UV Resin and cured in sunlight on the raw clay (Note: the cured UV Resin can be put in oven at regular Polymer clay temps, so If later I want to cure the polymer clay disks, I can--added benefit is the cured UV resin should protect the color of the inks before and after curing the PC:

9. Worked perfectly, UV resin hardened in sunlight, and did not stick when covered by press and seal.
10. Lastly, I used my Silhouette Cameo and a pen inserted into holder to make teeny tiny labels from full page labels (I use this often, see posts here and here, and here
So now I have project done. I have found that the colored disks protected with Press n Seal, fits inside the palette (Note, let any inks you have used completely dry before trying to put the samples on top and closing palette), here are a few pics of how that works.
After each disk covered with UV Resin (outdoor pic)

Disks labeled uncovered:

Disks covered and stored on top of the inks in palette with lid closed:

So samples are always with the palette, and I know how they look on white polymer clay, and I know the name and source of the inks for when I run out. I must say that using the brush pens and dried alcohol inks, they last a very, very, long time and go very far. Also, I have some plastic clear bags, or packaging material and apply color to that often squeeze more alcohol to make less intense if that is what I am going for. You can squeeze alcohol onto the clay and move ink around too, but you might get too much alcohol onto your clay. Here are some projects I have recently made using these inks. (I did recently get the metallic additives too), but have not tried to dry those on palette yet: