Showing posts with label silhouette cameo. Show all posts

Friday, June 30, 2017

Still experimenting with sketching

Although my printer isn't printing, the scanner works, so here are my steps
I slathered ink all over a 12" x 19" sheet of white label paper. I order these label sheets here: 

I used a stash of Distress Inks I have and just covered the whole sheet with the ink. Here is a picture:


Then I scanned in that big sheet, I couldn't figure out how to scan it in its entirety, so I did it in sections then grouped them together like a puzzle.  I only use this to put on my mat so I can figure out where I want to sketch and cut.  Here is a pic of my screen and a butterfly which I had sketchfilled, sketched with a pen, then cut around edge with blade.
Here is the sheet coming out of the Cameo:


Then I lifted the sticker off the sheet and placed onto wax paper to use in a project later:


I can now insert that painted label sheet any time I want and place other designs on it to sketch and cut.  Very handy to have the scanned version of the sheet for color placement, etc.

Friday, June 02, 2017

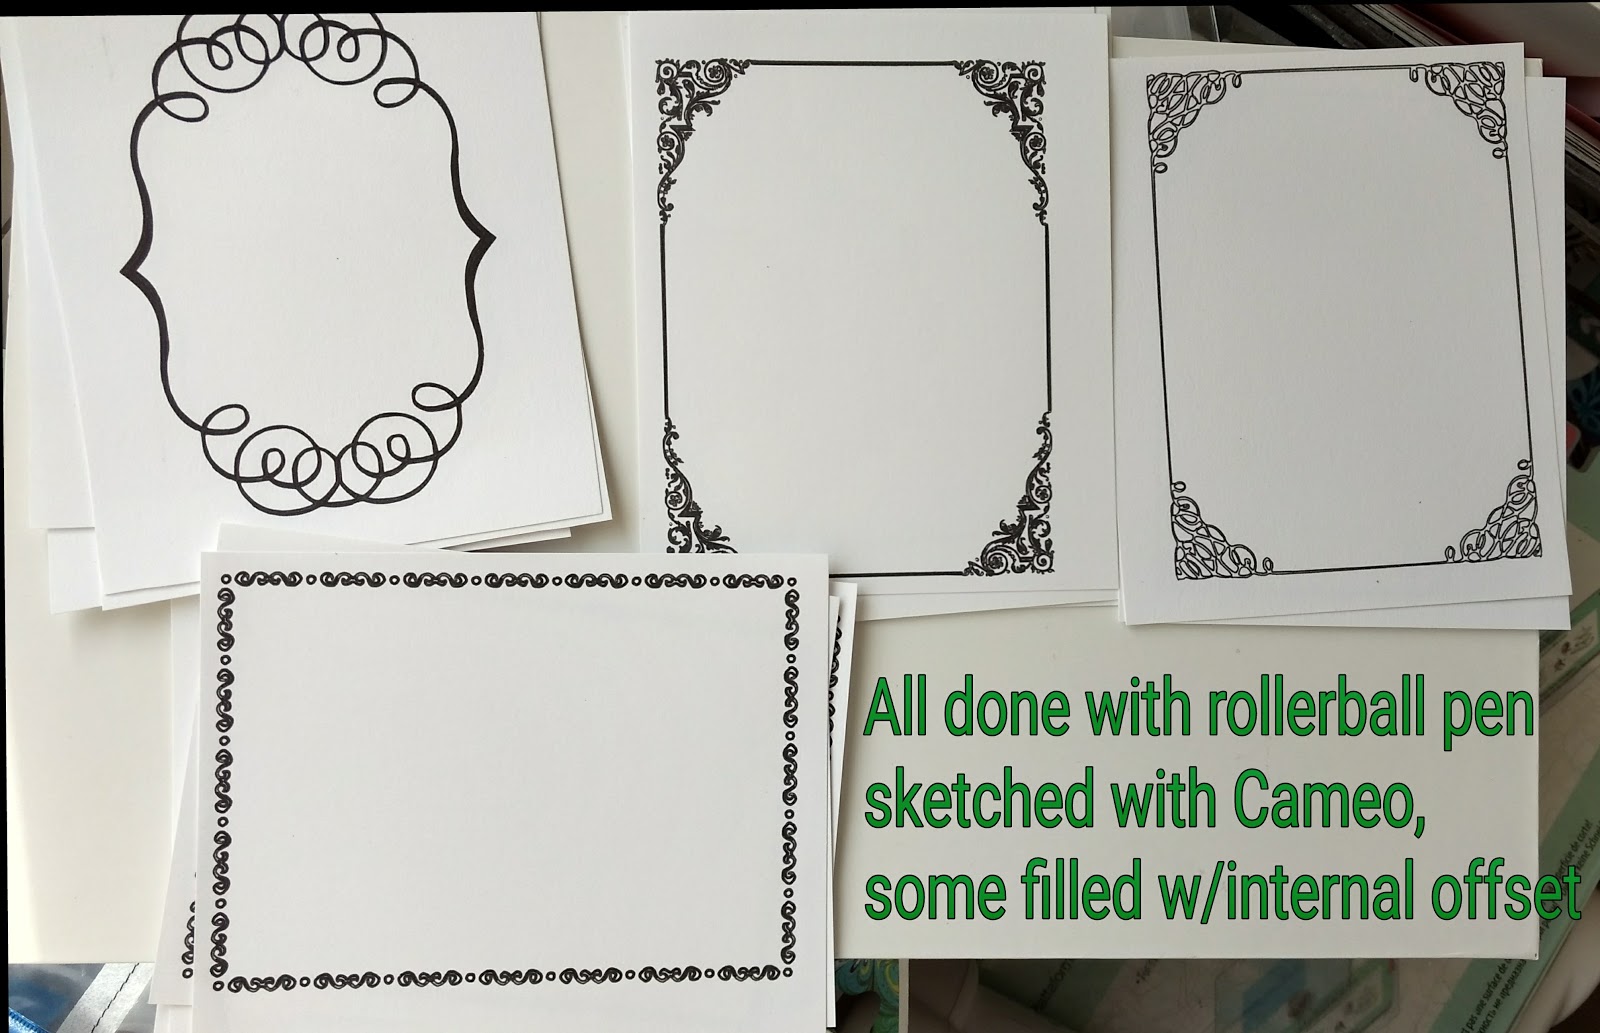
SKETCHING designs and fonts using internal offset Fill Technique

Again experimenting with "no printer"  I have made this video to show you how designs, not just fonts, can be filled in and sketched with pens/markers.  At the end of the video I share what I believe the pros and cons of doing this in lieu of printing.  I do ask for your patience, still have not figured easy ways to edit.  Apologize for all the mouse movements too, I talk with my hands and apparently do same with mouse which is all over the place, need to work on that.  At the end, when discussing pros and cons, I mistakenly said something like if you like the cons (meant to say Pros!)


Now see the video where this "filled" veining is sketched onto wax paper painted with a thin coat of paint, one of the pros, it is easy to stick small pieces of material on the mat to work with than to print from your printer, this is where sketching and filling comes in handy.  


now for some still camera shots of  just some of results I have obtained


Monday, August 22, 2016

Foam Cuts using Cameo, now I have even more uses for them as Stamps with MISTI

Cutting foam with my Cameo has been an obsession since I began experimenting with these foam cuts for use with clay/pottery.  Because now these very, inexpensive to produce, foam cuts have even more utility if the "positive" can be used easily as stamps, especially with the MISTI.  This wonderful tool enables restamping perfectly to get more vivid, bold stamped images (see previous Posting and video on how I do this).  I thought I would make it easy for you to crawl through almost 4 years of my experiments with cutting foam by providing direct links to those posts.  Before I do, I have this picture to show you how one cut from that Dollar Tree foam can provide two useful products.  You can actually use both sides (positive and negative) as stamps (or on gelli plate for those playing with that technique), but if any of you have friends dabbling with pottery/clay, you could give them the parts that create raised images, they will be very excited when they start using them.  I have actually sold some to many local potters here.

But as promised, here are all the links to almost 4 years of experiments on cutting and using foam cut with the Silhouette Cameo
http://paulinesstuff.blogspot.com/2014/05/experimenting-and-playing.html

http://paulinesstuff.blogspot.com/2014/04/now-for-square-one.html

http://paulinesstuff.blogspot.com/2014/04/back-to-pottery-and-foam-cuts.html

http://paulinesstuff.blogspot.com/2014/02/finally-putting-it-all-together.html

http://paulinesstuff.blogspot.com/2013/12/still-playing-like-mad-scientist.html

http://paulinesstuff.blogspot.com/2013/11/details-on-how-foam-was-cut-using-cameo.html

http://paulinesstuff.blogspot.com/2013/09/more-foam-cuts-and-impressions-in-clay.html

http://s2.photobucket.com/user/paulinepdm/slideshow/Cameo%20Silhouette%20Digital%20Cutting

http://paulinesstuff.blogspot.com/2013/08/more-photos-made-from-impressing-fun.html

http://paulinesstuff.blogspot.com/2013/08/using-my-cameo-digital-cutting-machine.html

http://paulinesstuff.blogspot.com/2013/08/using-my-cameo-digital-cutting-machine.html

Friday, July 22, 2016

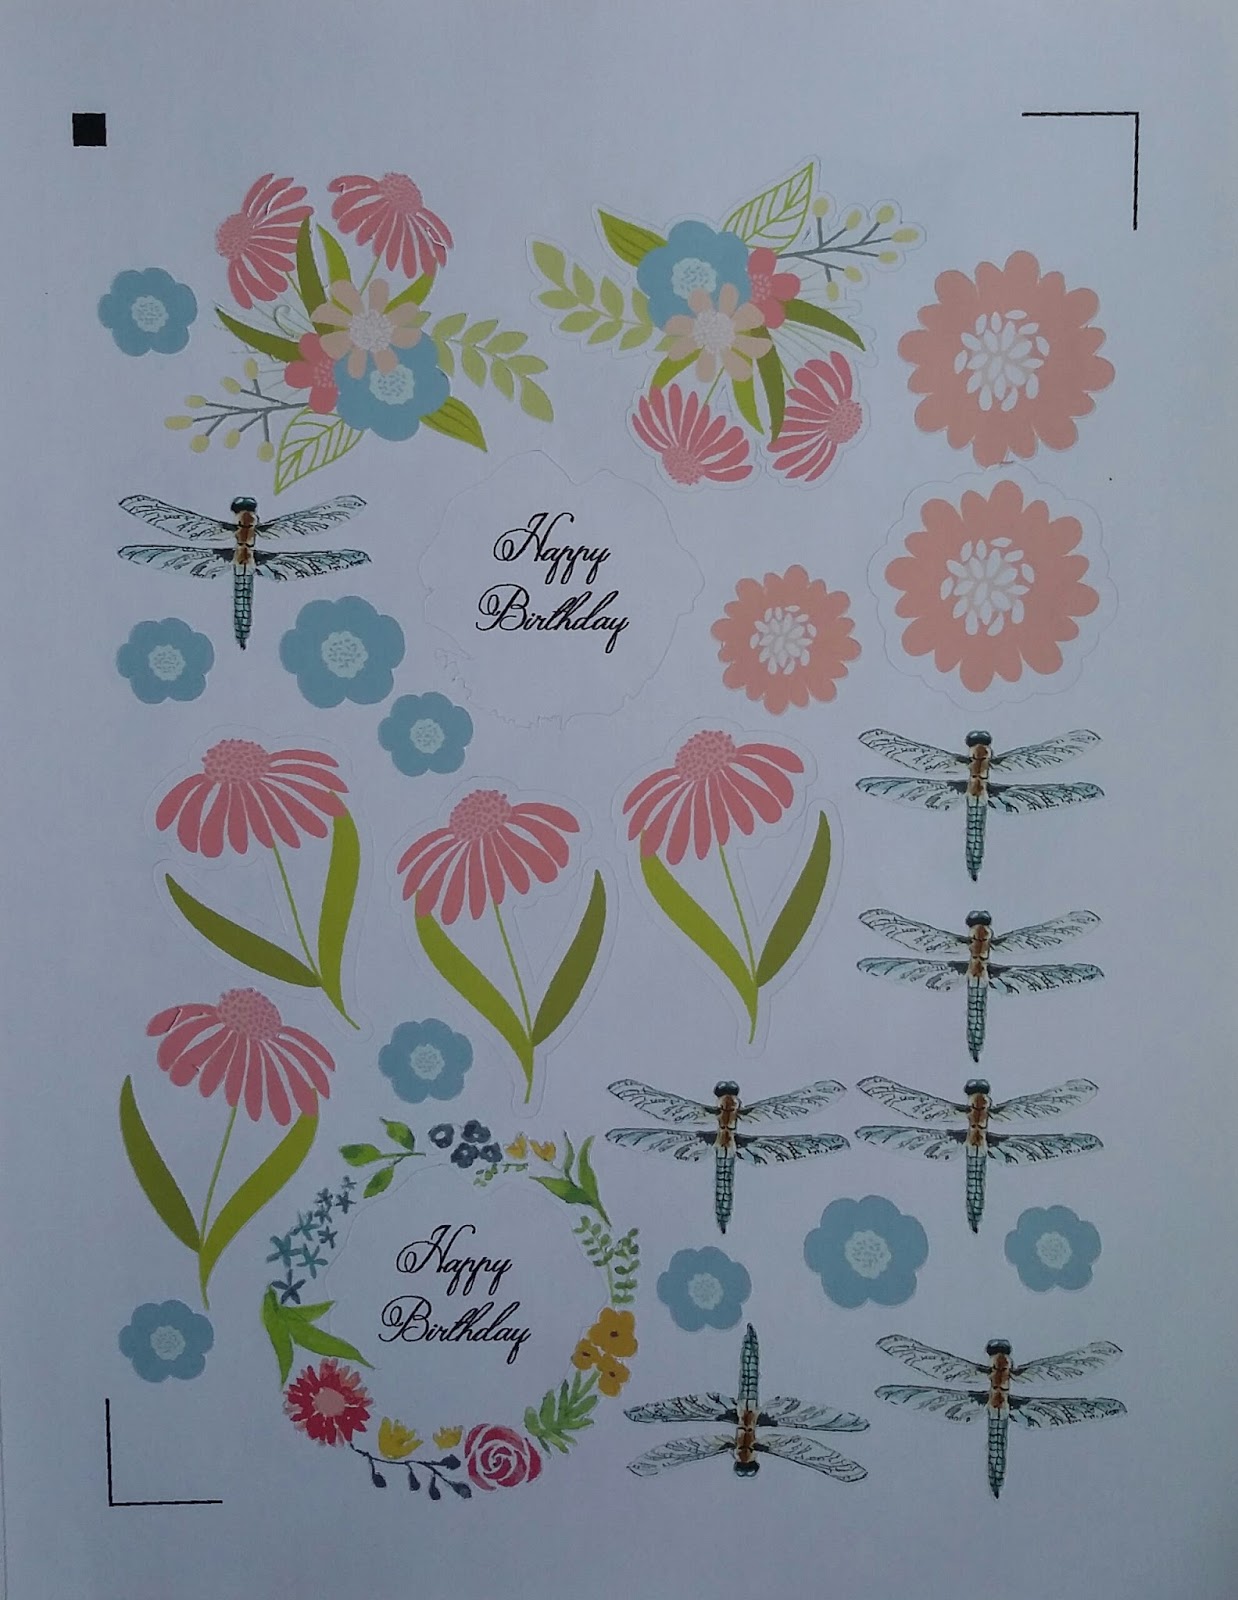
Oops another sticker sheet

When everything is going smoothly, I just want to get as many of these sticker sheets printed and cut ready to use.

Oops another sticker sheet

When everything is going smoothly, I just want to get as many of these sticker sheets printed and cut ready to use.

Monday, July 13, 2015

Printing on deli paper, cutting and designing with Cameo and "almost" finished project

Since I have my new 12 wide format Epson printer, I wanted to revisit printing on deli paper, I am mad for the stuff, love the translucency and have painted on it in the past, plus printed on top of painted deli papers.  Before I had the 12" format printer, I posted this method of printing on the deli papers --Well, I wanted to try something different.  I love the pop up card by Lori Whitlock
see video here.  And I "love" using the pattern function of the Cameo Software.  See some past experiments and tutorials here http://paulinesstuff.blogspot.com/2015/04/changing-pattern-colors-in-silhouette.html  and here, and washi tape here

There is a really soft pattern that I have found, don't know where, but I am drawn to it and wanted to use it in a card.  So, I decided to do a print and cut on the flowers using this favorite pattern.  Here is a photo of my screen--card takes 7 of these flowers so I would have to print two pages and end up with a spare. this shot shows cut lines, I had done an external offset for print bleed purposes, by creating a light blue area extending beyond the cut lines.


here is a picture of the screen without the cut lines showing, you can see the pattern better:
Here is what I learned:
First I tried full page label paper as backing sheet to run through printer, -------way too sticky, deli paper tore --so I put the printed deli paper without the backing sheet onto mat for cutting.  Do not use new mat, too sticky, however, due to translucency of paper, registration marks could not be detected, so I had to slip some white paper with the marks directly beneath the deli paper on the corners, this worked once, finally, got flowers to cut using Cameo


Second, I ironed around edges only on freezer paper and used back feeder of my printer making a user defined sheet of paper to match full size of deli paper which is 12x10.5" 

To summarize, I recommend:

Use Silhouette Cameo Software, it is great, esp for sizing things and adding patterns
Use Freezer paper as backer for deli paper in printer (use wrap method if you don't have a 12" wide format printer), iron edges of full size deli paper onto sized to fit freezer paper seems to work best for me
Use a not so sticky mat if you insist on cutting, keep freezer paper on and maybe the Cameo will detect registration marks, BUT, for this project, I could have cut out the flowers by hand and avoided all this.
Here are some more photos of flowers and project (almost finished--I need a front page with printed sentiment and it will be done).  As you can see, I did print out pattern onto deli paper 8.5" square to make an envelope too.