Showing posts with label cameo. Show all posts

Friday, June 30, 2017

Still experimenting with sketching

Although my printer isn't printing, the scanner works, so here are my steps
I slathered ink all over a 12" x 19" sheet of white label paper. I order these label sheets here: 

I used a stash of Distress Inks I have and just covered the whole sheet with the ink. Here is a picture:


Then I scanned in that big sheet, I couldn't figure out how to scan it in its entirety, so I did it in sections then grouped them together like a puzzle.  I only use this to put on my mat so I can figure out where I want to sketch and cut.  Here is a pic of my screen and a butterfly which I had sketchfilled, sketched with a pen, then cut around edge with blade.
Here is the sheet coming out of the Cameo:


Then I lifted the sticker off the sheet and placed onto wax paper to use in a project later:


I can now insert that painted label sheet any time I want and place other designs on it to sketch and cut.  Very handy to have the scanned version of the sheet for color placement, etc.

Wednesday, September 14, 2016

I love my Cameo, sketch with pen and cut on full page labels

Sometimes I am not very happy with the results that I get from my printer when it's printing very fine detailed text, in black on white cardstock. Perhaps it is because I'm using the back feed on my printer, perhaps it's because there is an overspray from the ink in the cartridge.

 Rather than trying to figure out and test all of these I recently decided to just combine using a rollerball pen as a sketch function to get the text and frame drawn around the text.  What I was trying to do is get labels that I could stick on the backs of my handmade cards and other things I make.
I love using full page labels to make my stickers, See postings here, and here, and here.   I get mine from online labels and it's very inexpensive and rather than use the ink in my printer to do this I decided to let the cameo do the work with a rollerball pen.  I wrapped a little washi tape and then covered with a foam pen holder (cheapies from Dollar store) which I had cut to fit pen, then inserted into regular cameo blade holder and adjusted so when the mechanism came down, the pen would make its mark.  I thought it was amazing that such small text came out so well, better than my printer.  The font I used is one I got in one of my old Hungry JPEG bundles, called Azurra Script--

The following pictures show you the results and I am quite happy with them what I did was turn on and off the various elements that I wanted to either sketch with the rollerball pen and then turn those elements to "No Cut"  when it finished, IMPORTANT, do not unload the mat!   I had a slight offset around the frame that was made "uncut" in the sketching phase, and after that was completed, I set the text and frame to "NoCut" and set the offset line to Cut, and using the Silhouette Settings for white sticker paper, and adding the ratchet blade set at 8, I then "sent to silhouette" (remember, mat was never unloaded),   The pictures below show the results


Monday, August 22, 2016

Foam Cuts using Cameo, now I have even more uses for them as Stamps with MISTI

Cutting foam with my Cameo has been an obsession since I began experimenting with these foam cuts for use with clay/pottery.  Because now these very, inexpensive to produce, foam cuts have even more utility if the "positive" can be used easily as stamps, especially with the MISTI.  This wonderful tool enables restamping perfectly to get more vivid, bold stamped images (see previous Posting and video on how I do this).  I thought I would make it easy for you to crawl through almost 4 years of my experiments with cutting foam by providing direct links to those posts.  Before I do, I have this picture to show you how one cut from that Dollar Tree foam can provide two useful products.  You can actually use both sides (positive and negative) as stamps (or on gelli plate for those playing with that technique), but if any of you have friends dabbling with pottery/clay, you could give them the parts that create raised images, they will be very excited when they start using them.  I have actually sold some to many local potters here.

But as promised, here are all the links to almost 4 years of experiments on cutting and using foam cut with the Silhouette Cameo
http://paulinesstuff.blogspot.com/2014/05/experimenting-and-playing.html

http://paulinesstuff.blogspot.com/2014/04/now-for-square-one.html

http://paulinesstuff.blogspot.com/2014/04/back-to-pottery-and-foam-cuts.html

http://paulinesstuff.blogspot.com/2014/02/finally-putting-it-all-together.html

http://paulinesstuff.blogspot.com/2013/12/still-playing-like-mad-scientist.html

http://paulinesstuff.blogspot.com/2013/11/details-on-how-foam-was-cut-using-cameo.html

http://paulinesstuff.blogspot.com/2013/09/more-foam-cuts-and-impressions-in-clay.html

http://s2.photobucket.com/user/paulinepdm/slideshow/Cameo%20Silhouette%20Digital%20Cutting

http://paulinesstuff.blogspot.com/2013/08/more-photos-made-from-impressing-fun.html

http://paulinesstuff.blogspot.com/2013/08/using-my-cameo-digital-cutting-machine.html

http://paulinesstuff.blogspot.com/2013/08/using-my-cameo-digital-cutting-machine.html

Sunday, July 24, 2016

And my Cameo didn't even ask for a raise

Most I have gotten on a full page sticker label 12"x18", lots of flowers each cut.

 I love my Cameo, and my wide format printer.  After making this card (included in previous post) which I think is even prettier in person:


I decided I needed lots more of these bouquets and filled the sheet with smaller and medium sized flowers which are nice to include on envelopes and inside card, etc, so I created this huge print and cut and my Cameo just cut every bit out perfectly.


I

Friday, July 22, 2016

Another card and another sticker sheet

Can't stop myself this new sticker sheet will be great for fall and Christmas too and I fill in sheet with dragonflies and hummingbirds which I can always use.


Tuesday, January 13, 2015

Find new and exciting ways to use patterns on Silhouette Studio Designer Edition

The fun I had in my previous posting using my pattern library to make washi tape has led me to another useful use of patterns "and" Inkjet Printable vinyl.  As you know, I have an Epson 13" wide format printer which I am loving, Workforce WF-7610.  I have not done a lot of vinyl work, just a few things made over the holidays as gifts using vinyl I had had but never used before.  I decided that if I were going to use vinyl again, and did not want to have a huge supply of all the various colors, I would look into getting Inkjet Printable vinyl which I could color anyway I wanted before cutting.  I found this 12" x 24" inkjet printable (PERMANENT) vinyl here.  So I ordered 4 sheets (if I cut in half, I have 8 12" x 12" sheets---for $15.80 plus $6.95 shipping --total $22.75  comes out to $2.84 per 12x12" sheet)  It is a lovely matte finish.  I have been having such fun adding interesting patterns to my pattern library, some are my painted papers, some are great images found here and there.

Now to put all that to work.  My smart phone is a Nexus 4 which I love,  I also love the leather case I have for it, see here.  However, I often misplace the phone in the house and because it is black, I often can't see it, so I have used my Device Manager to make it ring while I scurry from room to room looking for it.  So I tested a tiny bit of leftover vinyl from those holiday projects I made and found the vinyl sticks nicely to the leather.

So I made a template for both the front and back of the leather case, one having appropriate holes for camera and speaker openings, one which covers whole side with no openings.  Here is a screenshot of my template:
Then the fun began as I filled these templates with the various patterns I have added to my pattern library, see previous posting and video on how I fill objects with patterns.  I couldn't stop, this was so much fun.  I have to be honest, my first template was just the solid without the cutouts for the back.  I thought I could easily cut out the areas after sticking it to my case, which I did, but a much nicer job can be done if you get the placement and template working with the cutouts.  For one thing, you can "pan" or scale your design pattern in exact position where the holes won't matter.  I will, therefore share with you the printout of my vinyl showing only the full front templates as shown below and I have annotated the picture to show you another mistake I made
I also could have moved the registration marks to allow for wider print/cut area, so you can learn from my mistakes.  Well, I used the black cat ( I love my black cat named "Pepper"), and that graphic certainly makes my phone visible when I misplace it again.


What is nice, Is that I can change out the vinyl patterns when it suits me, The only thing is I keep thinking up new ideas for decorating my phone. 
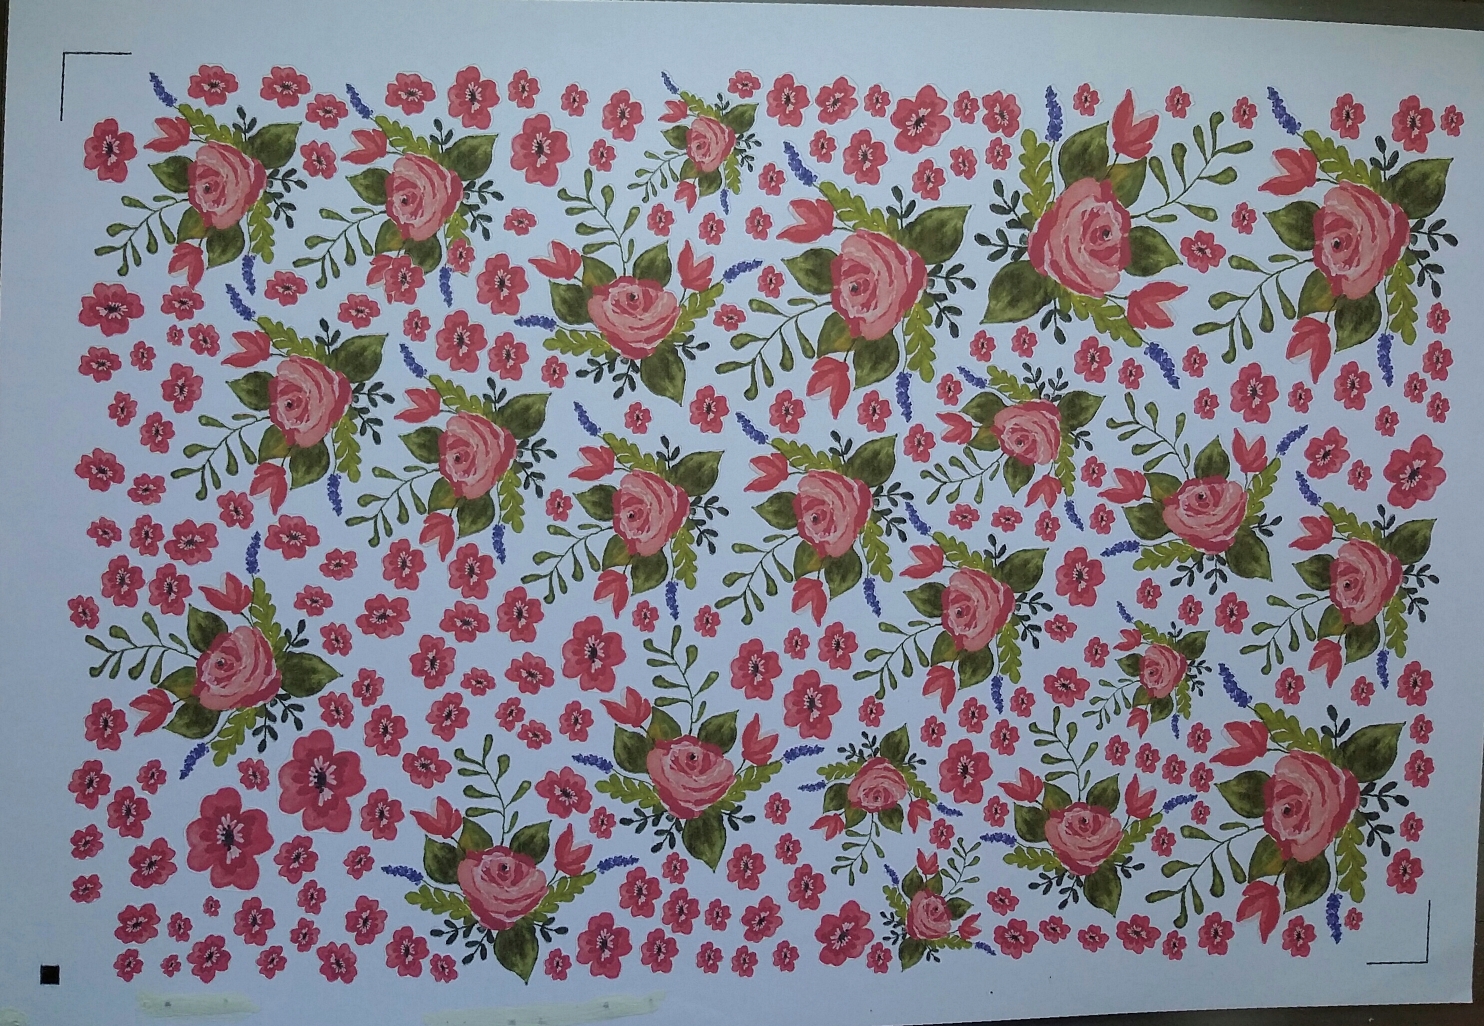
 Here are some more I have been playing with.
 and here is a screenshot of some of the patterns and I have lots more that have been added to "my Patterns" .  Hope you are inspired to try some of these ideas.


:


Friday, January 09, 2015

making inexpensive washi tape using printer and Silhouette Studio Designer Edition

Happy NEW Year everyone  here are two videos showing new ways to use the Silhouette software with Designer Edition.  Sorry for 2 videos but I forgot a few important items covered in Part 2 and have not found good way (and the time) to edit them into one video


Sunday, October 05, 2014

Learned a new trick

I bit the bullet and got another digital cutting machine.  I absolutely love my Cameo, and especially the software program which is terrific.  I use the software for more than just cutting.  It is pretty much my "go to" program when I want to lay things out, get nice crisp images and text,  and print from it, either on paper, fabric, or on transparencies that I use to make silkscreens.

  However, I was intrigued by the Cricut Explore's ability to cut thicker materials than the Cameo can cut, so I bought one.  It is a lovely machine and has many advantages, and I will use both the Cameo and the Cricut Explore.  I am not thrilled with the "on-line", software that drives the Explore not enough flexibility in personally designing images, etc.  Although I understand the Cricut has come a long way with this new machine.

Now for my discovery:  in learning the ways of the Explore, I fell upon this video as I devoured as many tutorials as I could to learn the system:
https://www.youtube.com/watch?v=Q2FOnbya4_g

Melody showed a neat trick which I will use a whole lot.  I love heat embossing and have several powders.  Up til now, it has mainly been something you do with rubber/acrylic stamps and therefore is limited in size, etc.  But having watched Melody's tutorial, and having bought the embossing pens she used, I proceeded to use them on "yes" some more of my deli paper.  I must have made this sheet the same time I made several recent ones, same paint colors.  On the others, I  ran through printer to get graphic images to print on top of the painted papers.  This time, I put the paper on my Explore mat, inserted the clear pen in the pen holder, changed the image from a cut to a "write" and off I went--rather the machine went!  Since the embossing pen I used was clear,  I couldn't easily see where the pen had drawn on the paper until I sprinkled on the mustard color embossing powder and voila, it was there nice and clear/clean.  I hit it with the heating gun and the areas drawn with the embossing pen  raised up from the paper.  With this bit of help, I can use virtually every image on my computer to get whatever size/placement I want.  I have a collection of stamps which I probably won't even use, glad I don't have too many, this is the way to go.    Both the Cameo and the Explore take 12" wide media, so this is an added advantage as well.  Unless you have a wide format printer, you would have had to wrap paper around a carrier sheet.  How lovely to be able to use this technique to draw/sketch and then heat emboss using the capabilities of the machine.  These pens did not fit into my Cameo holder, so had to use the Cricut Explore.  I will post this on the forum of Cameo users to see if some of the other purchased pen holders will hold these embossing pens.