

Tuesday, May 29, 2018
Painted tube bead(s)
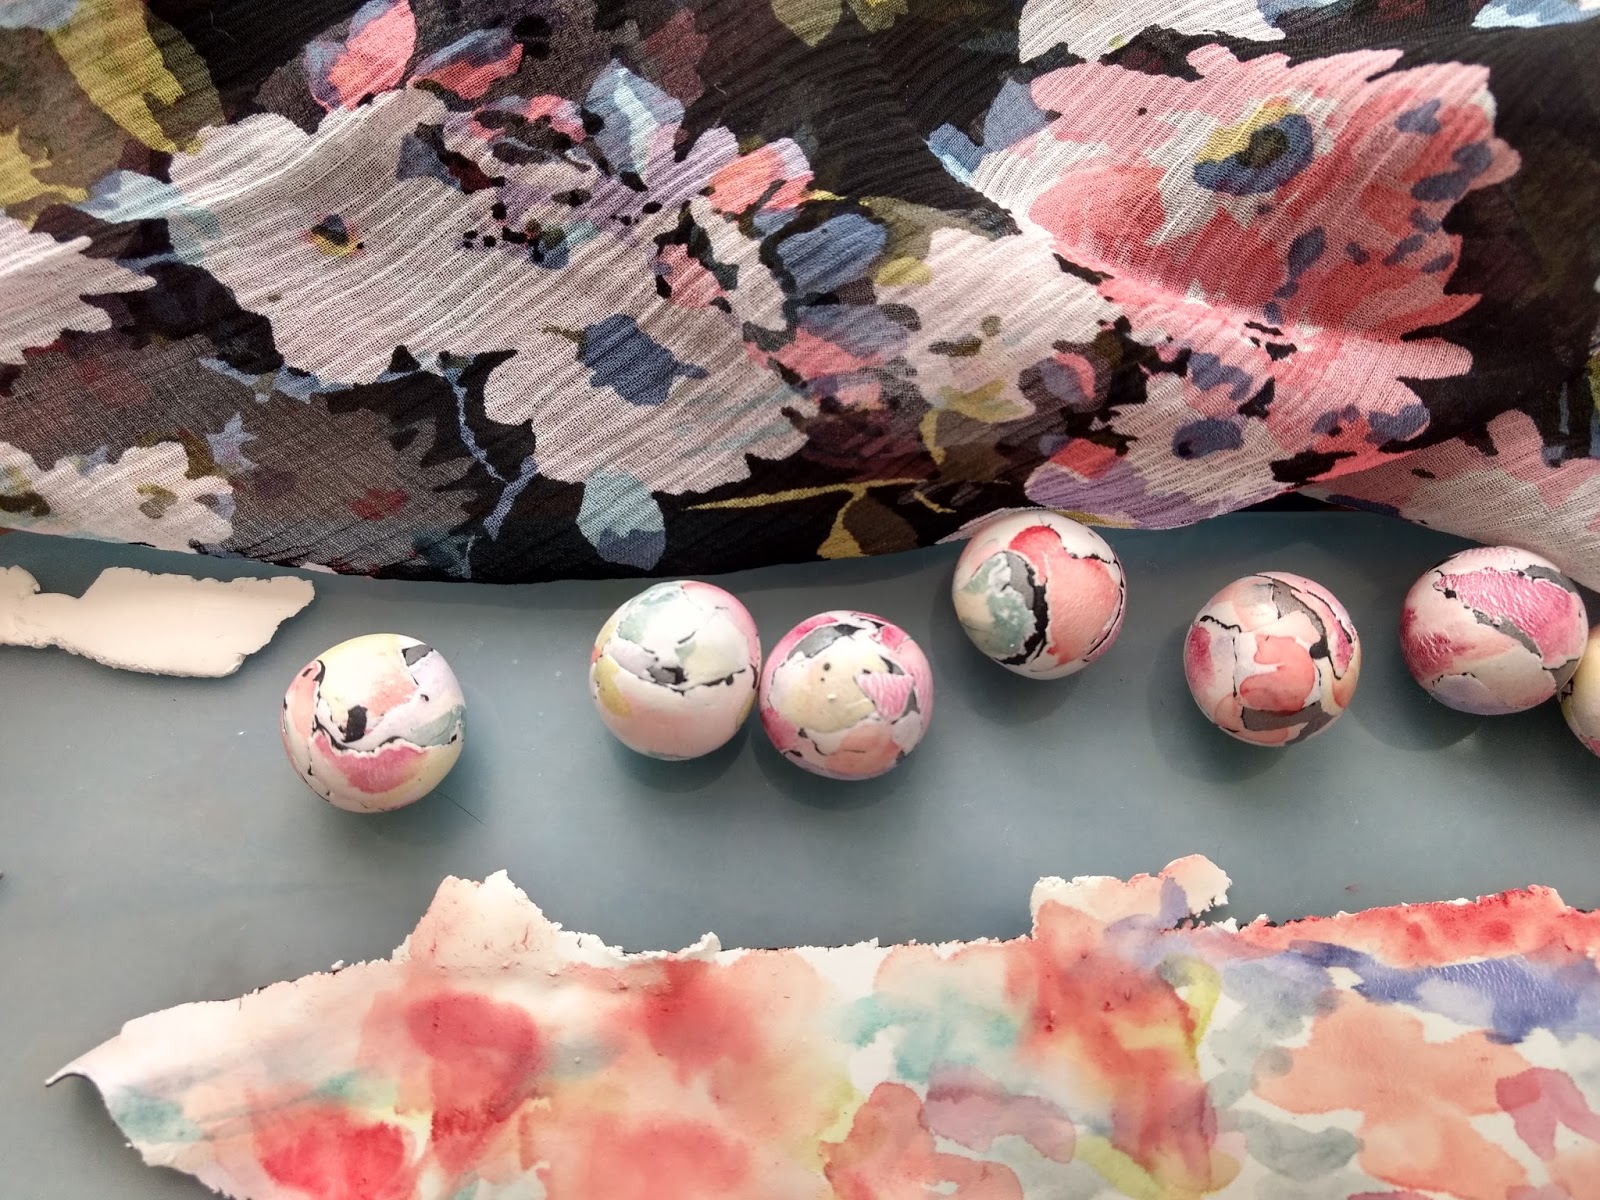
I have admired a beaded necklace for some time and decided I would try to use it as inspiration for a polymer clay version. This is my first attempt, I have a few things I might do differently if I attempt to do this again. I really love the colors.


Saturday, May 26, 2018
Friday, May 25, 2018
Rambling through studio of a mad, messy crafter
Wednesday, May 16, 2018
Silk-screening on clay using Caran d'Ache Classic Neocolor II Water-Soluble Pastels, and Derwent Inktense blocks
and here are a pair of earrings I made from these silkscreened clay veneers:
Tuesday, May 15, 2018
Friday, May 11, 2018

Monday, April 30, 2018
Organizing and identifying Alcohol Inks on Polymer Clay
WARNING: Do not watch this video if you hate bad camera work.
I am not competent enough to edit it so you wouldn't get dizzy, but since project has been completed, I cannot redo it.
Comments: I keep calling it Peel and Stick, but it really is Glad "Press and Seal"

that I am using. I also gave info on the Tim Holtz palette.

I had camera and paper towel in one hand, and was painting, etc with other, so not the best method. But I offer it so that you can see what I did. If you want to skip the video, here are my steps
1. Bought palette after experimenting using found packaging to dry alcohol inks and liked it
Eliminates most of the mess and potential accidents associated with using alcohol inks.
See my blog posting here.
2. Did not like that I couldn't identify colors once inks were dried on palette.
3. Also wanted to see what the colors looked like when applied to white polymer clay
4. Squirted my inks into receptacles in palette
5. Kept record of which inks were where in palette
6. Made raw white (Souffle) clay disks and placed them on the Press and Seal in exact placement as inks on palette.
7. Using my brush pens (see blog posting on these here) (Honbay 3pc water Brush Watercolors Pens Art Painting Brushes} I added color from ink palette reservoirs to each clay disk, as indicated on my paper record.
8. Let them dry, then faced with a dilemma, I wanted to cover these disks with the Press and Seal, but was afraid it would lift the color off of the disks (I ultimately discovered it would), so I covered each disk first with UV Resin and cured in sunlight on the raw clay (Note: the cured UV Resin can be put in oven at regular Polymer clay temps, so If later I want to cure the polymer clay disks, I can--added benefit is the cured UV resin should protect the color of the inks before and after curing the PC:


I am not competent enough to edit it so you wouldn't get dizzy, but since project has been completed, I cannot redo it.
Comments: I keep calling it Peel and Stick, but it really is Glad "Press and Seal"

that I am using. I also gave info on the Tim Holtz palette.
I had camera and paper towel in one hand, and was painting, etc with other, so not the best method. But I offer it so that you can see what I did. If you want to skip the video, here are my steps
1. Bought palette after experimenting using found packaging to dry alcohol inks and liked it
Eliminates most of the mess and potential accidents associated with using alcohol inks.
See my blog posting here.
2. Did not like that I couldn't identify colors once inks were dried on palette.
3. Also wanted to see what the colors looked like when applied to white polymer clay
4. Squirted my inks into receptacles in palette
5. Kept record of which inks were where in palette
6. Made raw white (Souffle) clay disks and placed them on the Press and Seal in exact placement as inks on palette.
7. Using my brush pens (see blog posting on these here) (Honbay 3pc water Brush Watercolors Pens Art Painting Brushes} I added color from ink palette reservoirs to each clay disk, as indicated on my paper record.
8. Let them dry, then faced with a dilemma, I wanted to cover these disks with the Press and Seal, but was afraid it would lift the color off of the disks (I ultimately discovered it would), so I covered each disk first with UV Resin and cured in sunlight on the raw clay (Note: the cured UV Resin can be put in oven at regular Polymer clay temps, so If later I want to cure the polymer clay disks, I can--added benefit is the cured UV resin should protect the color of the inks before and after curing the PC:

9. Worked perfectly, UV resin hardened in sunlight, and did not stick when covered by press and seal.
10. Lastly, I used my Silhouette Cameo and a pen inserted into holder to make teeny tiny labels from full page labels (I use this often, see posts here and here, and here
So now I have project done. I have found that the colored disks protected with Press n Seal, fits inside the palette (Note, let any inks you have used completely dry before trying to put the samples on top and closing palette), here are a few pics of how that works.
After each disk covered with UV Resin (outdoor pic)

Disks labeled uncovered:

Disks covered and stored on top of the inks in palette with lid closed:

So samples are always with the palette, and I know how they look on white polymer clay, and I know the name and source of the inks for when I run out. I must say that using the brush pens and dried alcohol inks, they last a very, very, long time and go very far. Also, I have some plastic clear bags, or packaging material and apply color to that often squeeze more alcohol to make less intense if that is what I am going for. You can squeeze alcohol onto the clay and move ink around too, but you might get too much alcohol onto your clay. Here are some projects I have recently made using these inks. (I did recently get the metallic additives too), but have not tried to dry those on palette yet:


Tuesday, April 24, 2018
Easy Stroppel Cane, turned into earrings
In late March I was watching Kalyana live tutorial, cannot now remember which specific one, however. I learn so many tips watching these. In one she demonstrated the Stroppel Cane and made into veneer then used in a cuff bracelet. I was inspired to try one myself with a scrap cane. When slicing, I decided to align the slices in opposite alignment more like a basket weave. Here is a picture showing the cane block, the veneer and a pair of earrings made from the veneer.


Wednesday, April 11, 2018
Alcohol ink on polymer clay Part 2
How to look around and use what you have
In the process of making the video in the last post, I jury-rigged a setup to get a nice closeup of the project. I used what I had, just setting my eyes on things around me. turns out the video turned out pretty good, I do like closeups of work. I used my phone's camera (I have a MotoZ Play phone) and when I borrowed my husband's phone, I decided to reveal the setup. So if you all have anything to share and want to do a quick video, just look around you. Good window light is quite important. See following video where I showed (behind the scenes, lol) recording of the video I posted yesterday:
Tuesday, April 10, 2018
Circling back to older hobby Polymer Clay
It has been a very long time since posting, I have gone back to an old hobby of mine and have learned new tricks. One thing I have been able to do is crossover many of my skills/techniques to almost all of the hobbies. Making Polymer Clay jewelry has been more fun for me this time around. I am also finding new ways to apply my old skills to Polymer Clay. Most recently, similar to making labels on my Silhouette Studio Cameo by sketching outlines in black, then painting them in as I need them, as I did here, and here. So now I am using similar approach with my polymer clay, silkscreen designs on raw clay, let dry, then apply color as needed using alcohol inks and Inktense blocks:
Here is a video showing that process:
Here is a video showing that process:
Tuesday, November 28, 2017
Thursday, October 12, 2017
Trying to help those who aren't able to use embossing tool for sketchfill plus tips
I did quick video to show version of software I am using on my Windows 10, laptop, This video recaps the whole process, I also cover tips on the note function, how to cut your sketched images by using "cut by line", also how to quickly edit a cut file to cut by editing points, then welding them so project can be cut out as one, also show you how I save my cut files to make sure they do not disappear some day in cloud. Hope you all can benefit from this. Please let me know if this solves your issue with not being able to use the emboss function to sketchfill.
Thursday, August 10, 2017
Objects on a path, new tool with SS Version 4.1
I show what I learned this morning, easy peasy way to use new tool and fun to play with:
Tuesday, August 01, 2017
Magic color card
So, as it is my friend's birthday, and I just saw a video by Lindsay, the frugal crafter, I decided to make a similar card. I have to admit, I found an image I wanted to use and printed it on cardstock and transparency, also used my Silhouette Studio software to design the various elements, and layout. Also hand colored using watercolors. Here is a video of my card.
Wednesday, July 19, 2017
How I "excercise" my design skills on Silhouette Studio and other tips
Friday, June 30, 2017
Still experimenting with sketching
Although my printer isn't printing, the scanner works, so here are my steps
I slathered ink all over a 12" x 19" sheet of white label paper. I order these label sheets here:
I used a stash of Distress Inks I have and just covered the whole sheet with the ink. Here is a picture:


Then I scanned in that big sheet, I couldn't figure out how to scan it in its entirety, so I did it in sections then grouped them together like a puzzle. I only use this to put on my mat so I can figure out where I want to sketch and cut. Here is a pic of my screen and a butterfly which I had sketchfilled, sketched with a pen, then cut around edge with blade.
 Here is the sheet coming out of the Cameo:


I slathered ink all over a 12" x 19" sheet of white label paper. I order these label sheets here:
I used a stash of Distress Inks I have and just covered the whole sheet with the ink. Here is a picture:


 Here is the sheet coming out of the Cameo:

Then I lifted the sticker off the sheet and placed onto wax paper to use in a project later:


I can now insert that painted label sheet any time I want and place other designs on it to sketch and cut. Very handy to have the scanned version of the sheet for color placement, etc.
After design, getting Cameo to sketch
Following video shows how I get pen ready to sketch, also how to test adjustments so pen will sketch, then included a few missteps in process, so you can see nothing always works perfectly, but you then can see Cameo sketch over a watercolor background. NOTE, when I say PRINT, I really mean SKETCH, no printer used.
Saturday, June 24, 2017
Another Freebie file and pics showing how fill sketch was created
I just sketched out a file I have been working on filling and you might like it. Here is the link
found this image and thought I could do a trace, then fill for sketching:


found this image and thought I could do a trace, then fill for sketching:
Of course, you could print it, but if you wanted to use sketch pen in your Silhouette Studio/Cameo, and get the same "filled in" result, you can.

Here is how design looked on my screen after multiple internal offsets:

This image is a closeup of the fill showing the butterfly, using the fill technique I covered in this post.

and here is how it sketched

If you look closely, there are a few missed spots, it only took a few seconds to fill those in with pen manually, I could have packed another internal offset or two to make it fill with the pen in the Cameo.
Here is a video of the pen in action, sketching this design, ignore the Happy Birthday since that was another experiment trying to get that text as a border for a card.
Well, then I thought, I should use my glitter gel pen to try this again. I had a few adjustments to get the gel pen down far enough to sketch, but not drag, as a result, I sketched it twice before unloading the mat. As you can see, it put down a lot of sparkly color which you cannot get from your printer:


Thursday, June 22, 2017
My Apologies-- Link corrected for Freebie file of filled in Sentiments
Thanks to Trudie Case who called my attention to the link that was empty on the freebie file that should have contained the filled in text sentiments I covered in this blog post:
I have corrected the link so you can now download the file if you want to try it.
I have corrected the link so you can now download the file if you want to try it.
Subscribe to:
Posts (Atom)