

Saturday, April 30, 2011
Indigo Batik Box
Also out of the kiln, I have two more little items with the Batik Technique ready to be glaze fired. I need to work on the technique more, gotta get the wax to crackle smaller and try other colors of silkscreen too.


Refiring with Clear Glaze
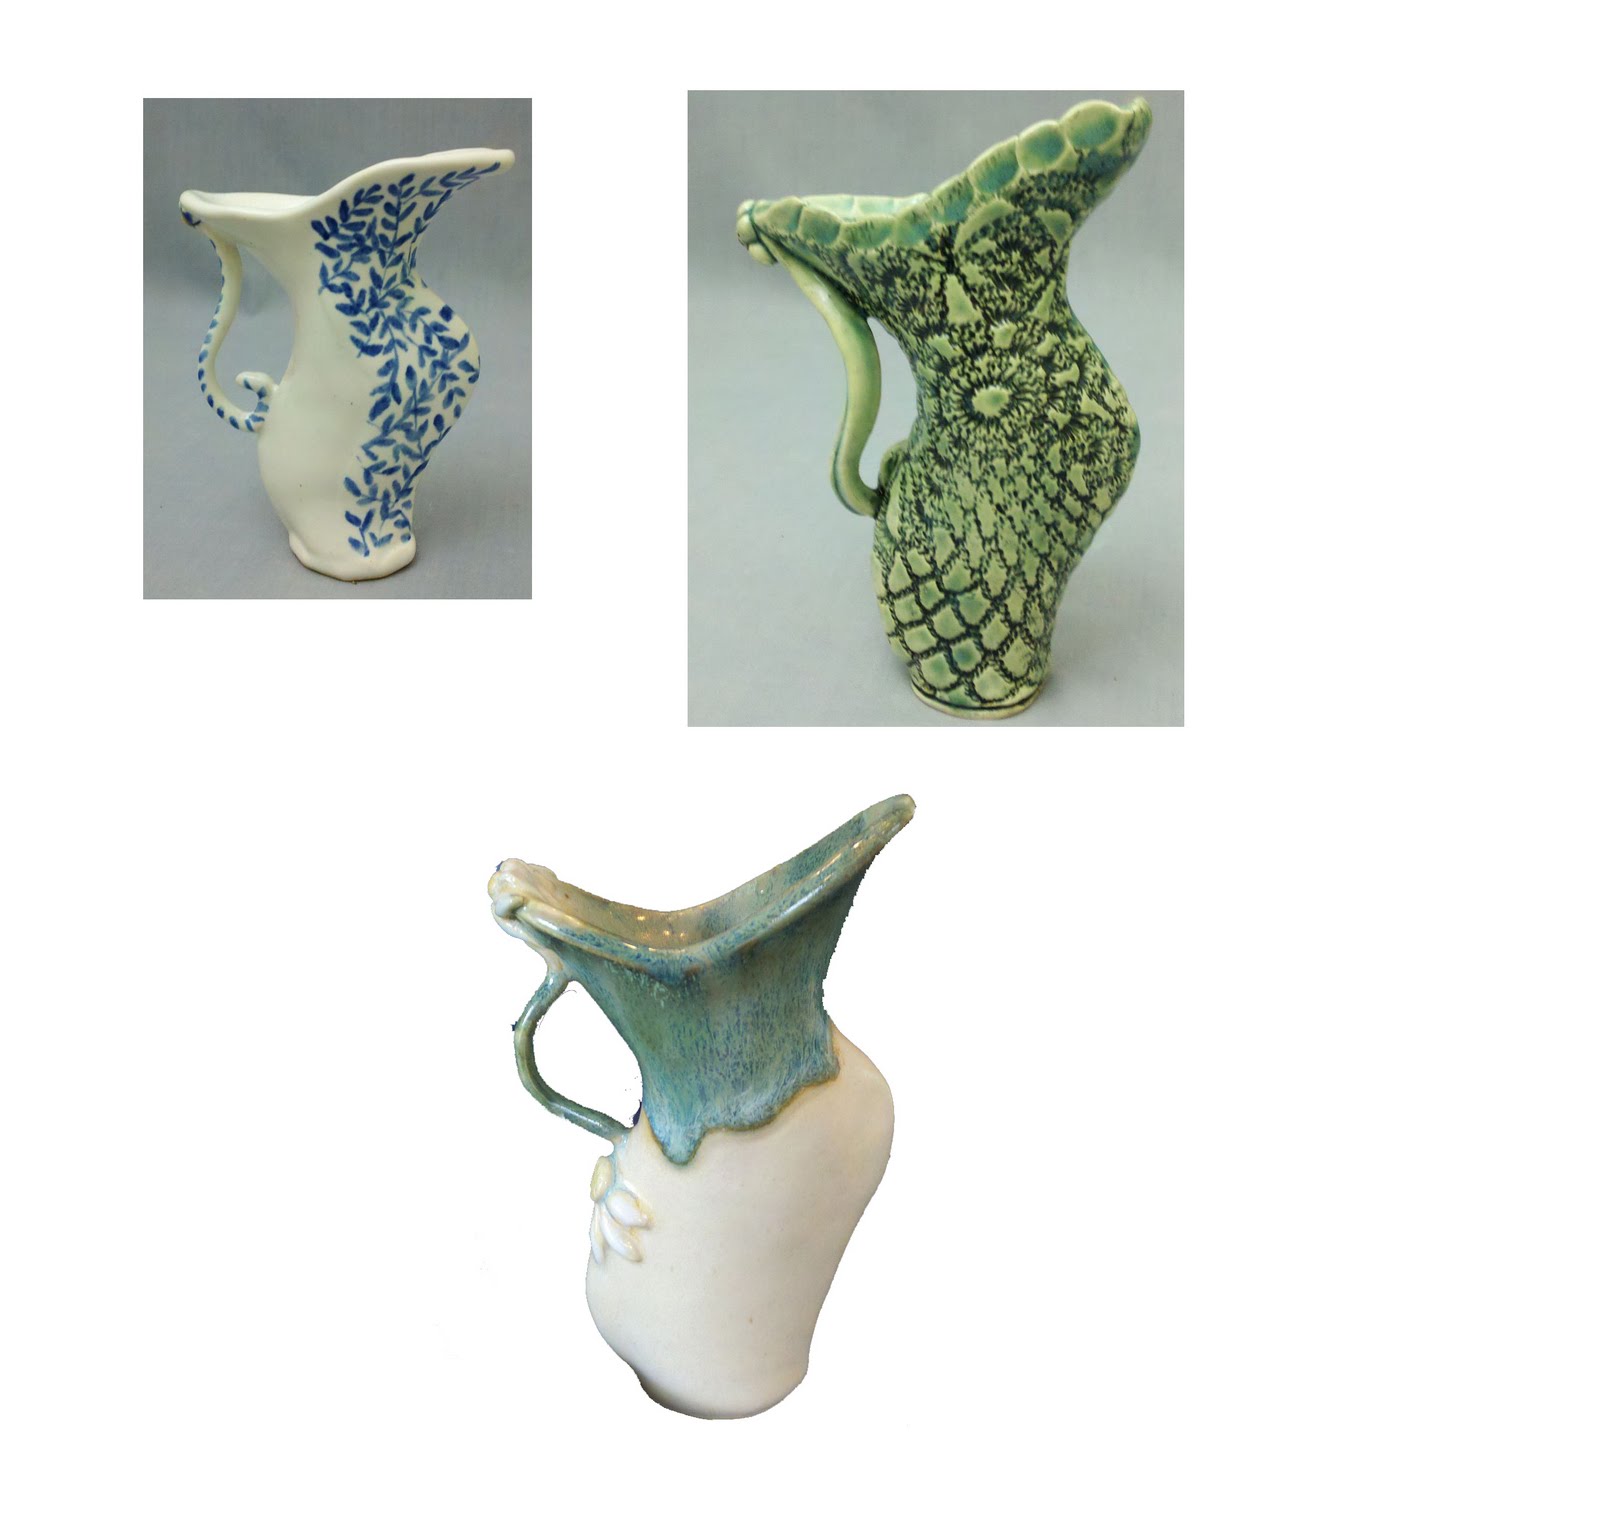
I was not happy with the natural look of the body of these vases, the screenprint designs were too dark for my liking. I had wiped iron oxide over the outside of these and just glazed the inside and the handles. Sooooo, I reglazed the outside with a no zinc clear glaze and I like them much better. I think next time, if I want the natural clay body to show, I will just not use oxide but I think I did that because I had some light spots that showed after bisque that I didn't want to be there in the final firing, so I used oxide to darken the natural clay overall. The clear does make the silkscreened pattern more distinct. So a before and after look here:

Also made another of these wonky vases using a different decorating technique and glaze combo, on of my favorites:

I had also used this design/shape for a few other mini vases which are for sale at my ETSY shop:


Also made another of these wonky vases using a different decorating technique and glaze combo, on of my favorites:

I had also used this design/shape for a few other mini vases which are for sale at my ETSY shop:
Friday, April 15, 2011
Results of my indigo batik experiment


These are the 3" test tiles and I am very pleased with the look. Used virtually the same technique as for fabric, only I did use my silkscreens to get the blue print on raw clay. Today, I used the same technique for a box, also in blue. I will now experiment with other colors. I love the old look these have and am excited to use this decoration on several different forms.
Sunday, April 10, 2011
Oh I am excited about my new technique
No photos yet, but I am experimenting with a new decorating technique that will look like Indigo Batik Fabric. Did up several 3" tiles using this new technique and they are now coated with clear and will come out of the kiln in a week or two. This is the studio's kiln and the owner of the studio waits for a full load before she loads and fires. I am very excited that I have my own kiln now and DH is getting it wired today.
In the meantime, here are some cute little vases I made, plus a ceramic wall painting that you can hang outside (weather proof), you can take it down and put in on your table and slice cheese or whatever on it, put it in the dishwasher, and then hang back up on the wall) Might make more of these ceramic canvas things, who knows:


In the meantime, here are some cute little vases I made, plus a ceramic wall painting that you can hang outside (weather proof), you can take it down and put in on your table and slice cheese or whatever on it, put it in the dishwasher, and then hang back up on the wall) Might make more of these ceramic canvas things, who knows:
Tuesday, March 29, 2011
My porfolio video
Created this to show a sampling of my work, most items have been sold and gone, but it is good to have photos as memories of some of these items:
Sunday, March 20, 2011
New in March
I am playing with a more painterly technique on plates and a ceramic wall canvas, playing also with the idea that you can hang it as art, take it off wall and use to serve on table, cheese, etc., then put in dishwasher, then hang back on wall. A slideshow was the easiest way to post so here it is:


Monday, February 07, 2011

Monday, January 10, 2011
A couple more mermaids
I am trying to get a video sized enough and uploaded so I can include it of the fountain working, but in the meantime, here is the first vase mermaid and a mermaid to hang on the wall:


Mermaids finished

Sunday, December 19, 2010
Mermaids

Friday, November 12, 2010
Getting Ready for December Show/Sale
Just a quick peek at the things I have been making lately to get ready for the Coastal Carolina December Show/Sale


 Plus, just shipped this bowl commissioned by a lovely customer in Jacksonville, Fl---


Friday, October 15, 2010
This time I got a picture

Sunday, October 10, 2010

Friday, September 24, 2010
Taken on her Debut
Lorelei won a Best in Category award by Juror of the Landfall Art Show. She also was sold and "renamed." Her new owner is a lovely woman who is presently undergoing cancer treatment. When she saw her, she couldn't sleep that night thinking about her. Lorelei's new name is "Hope." She has found a wonderful home.
Two more pieces that just got out of the kiln for the second day of the show. One of my favorites sold and I never got a photo of her after glazing. She sold two hours after I set her up. Here are some photos of her while drying. She really looked great after glazing.

Two more pieces that just got out of the kiln for the second day of the show. One of my favorites sold and I never got a photo of her after glazing. She sold two hours after I set her up. Here are some photos of her while drying. She really looked great after glazing.

Sunday, September 05, 2010
Lorelei, my first full size figure all in ceramic clay
 Finally, she is finished and quite sturdy with five separate pieces. She will make her debut at the Landfall Art Show next weekend and if she doesn't find a home there, I will put her in the Arboretum Show in October. Hopefully by Christmas she will be in a good home. I enjoyed the challenge of making her, but not sure I will be attempting anything quite this adventurous any time soon. More photos of her and a video can be seen here.
Sunday, August 15, 2010
Honored and Humbled

I am honored to have one of my pieces on display as a part of our local guild's exhibition at the NC Pottery Center. I learned upon our group's arrival for the opening reception on Friday that my box had been sold before the show's official opening and the buyer has to leave the item on display until the exhibit closes in November. I was surprised, pleased and humble to have this happen in the heart of NC's pottery center. Please visit the exhibit there if you can, the NC Pottery Center is awesome! I have uploaded all the photos taken during our visit to Seagrove (bus trip with several other members of our guild), to Seagrove, (In addition to the visit for NC Pottery Center reception, we also visited several potters in the area, and one fantastic "collector"). It was a great trip and the photos can be seen here.
Friday, August 06, 2010


Thursday, August 05, 2010
Tree Treasury

My Joyce Kilmer Tree Vase was just featured in this Etsy Treasury tucked among some beautiful tree related art. I am so pleased.
Saturday, July 24, 2010
Using Photoshop to Assemble "Lorelei"

Yes, that's her name, and the last piece was finished (building) only, just two days ago. The top two sections have been bisque fired, the bottom three are in various drying stages, hopefully ready for bisque firing next week or so, in this weather, drying is pretty fast. Since I can't assemble her I have had to enlist aid at the studio to hold the various sections in place so I could get some sort of visual bechmark, there is still a lot I don't know yet, until I can really stack the pieces one on top of the other. But by the time I can do that, I won't be able to change much. Well using Photoshop, I have stacked her just to see how she "might" look. Not too bad for my first major sculpture attempt. I think she will end up being about 60--62" tall with several inches of each piece lost as they fit inside another piece. Since I can't actually place the items onto the lower pieces since they are too soft, I had to do it with Photoshop and the photos I have taken along the way. Now to get each piece through the bisque and glaze firing process, hope to have her done for the September Art Show. It has been grueling working on her in the studio ----hot and sweaty work. About 80 lb of clay all together. I think this project has gotten me over the desire to make "big" things, at least for now.
Subscribe to:
Posts (Atom)