

Wednesday, July 27, 2016
Ready to make more
Another full 12x18"label sheet with my favorite stickers, have some special requests for these.


Monday, July 25, 2016


Sunday, July 24, 2016
And my Cameo didn't even ask for a raise
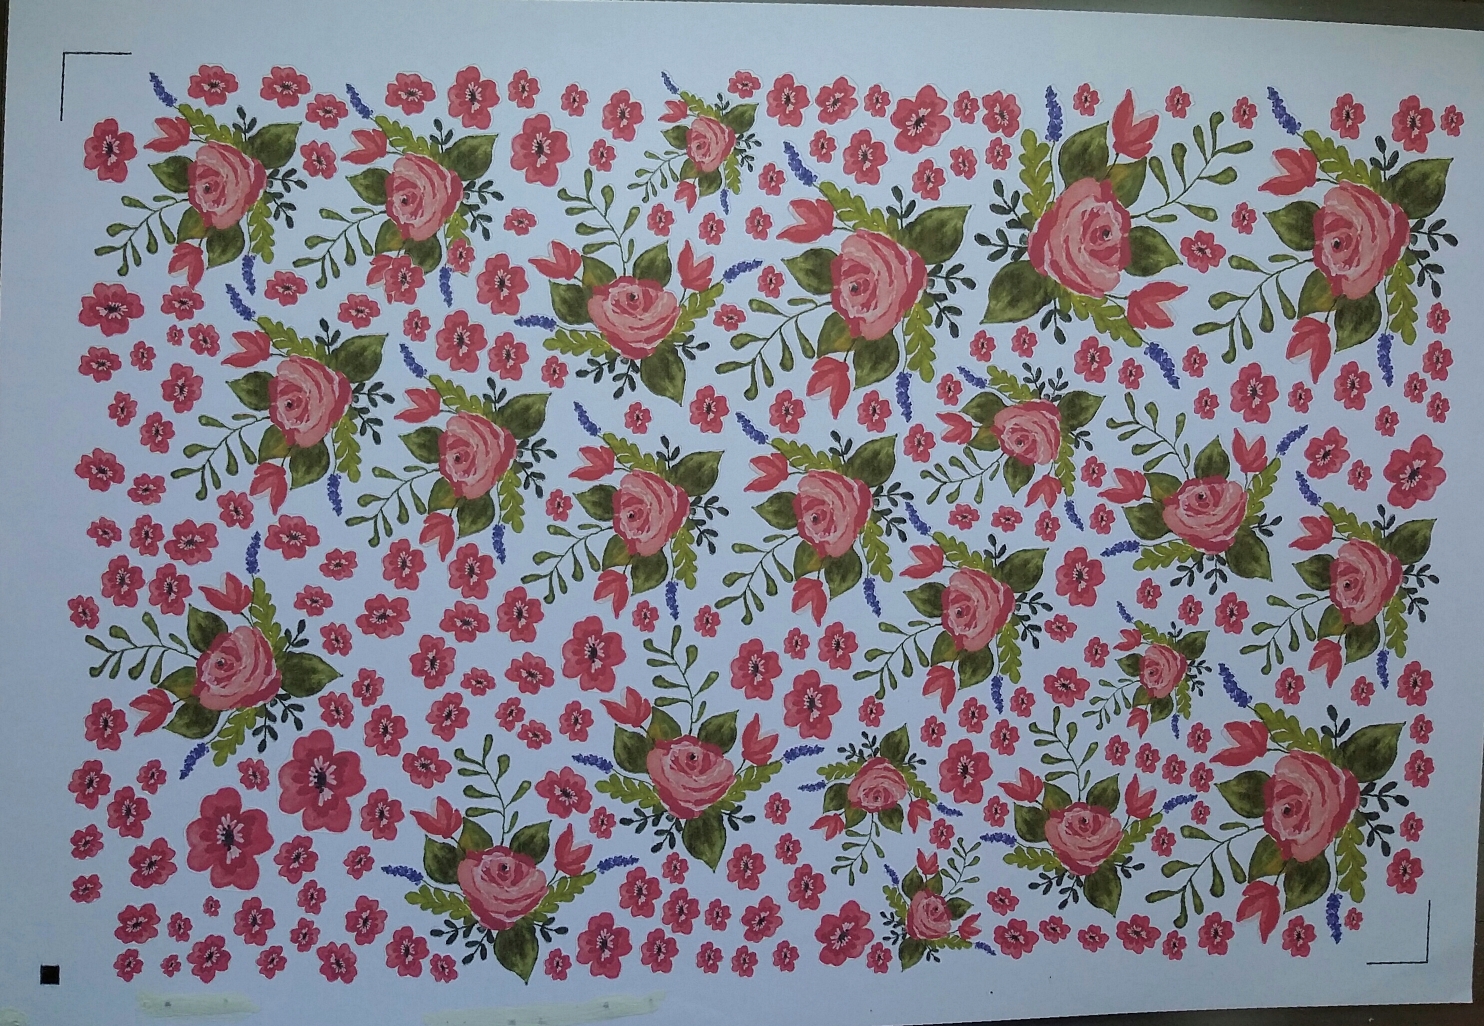
Most I have gotten on a full page sticker label 12"x18", lots of flowers each cut.
I love my Cameo, and my wide format printer. After making this card (included in previous post) which I think is even prettier in person:

I love my Cameo, and my wide format printer. After making this card (included in previous post) which I think is even prettier in person:

I decided I needed lots more of these bouquets and filled the sheet with smaller and medium sized flowers which are nice to include on envelopes and inside card, etc, so I created this huge print and cut and my Cameo just cut every bit out perfectly.
I
Friday, July 22, 2016
Oops another sticker sheet
Oops another sticker sheet

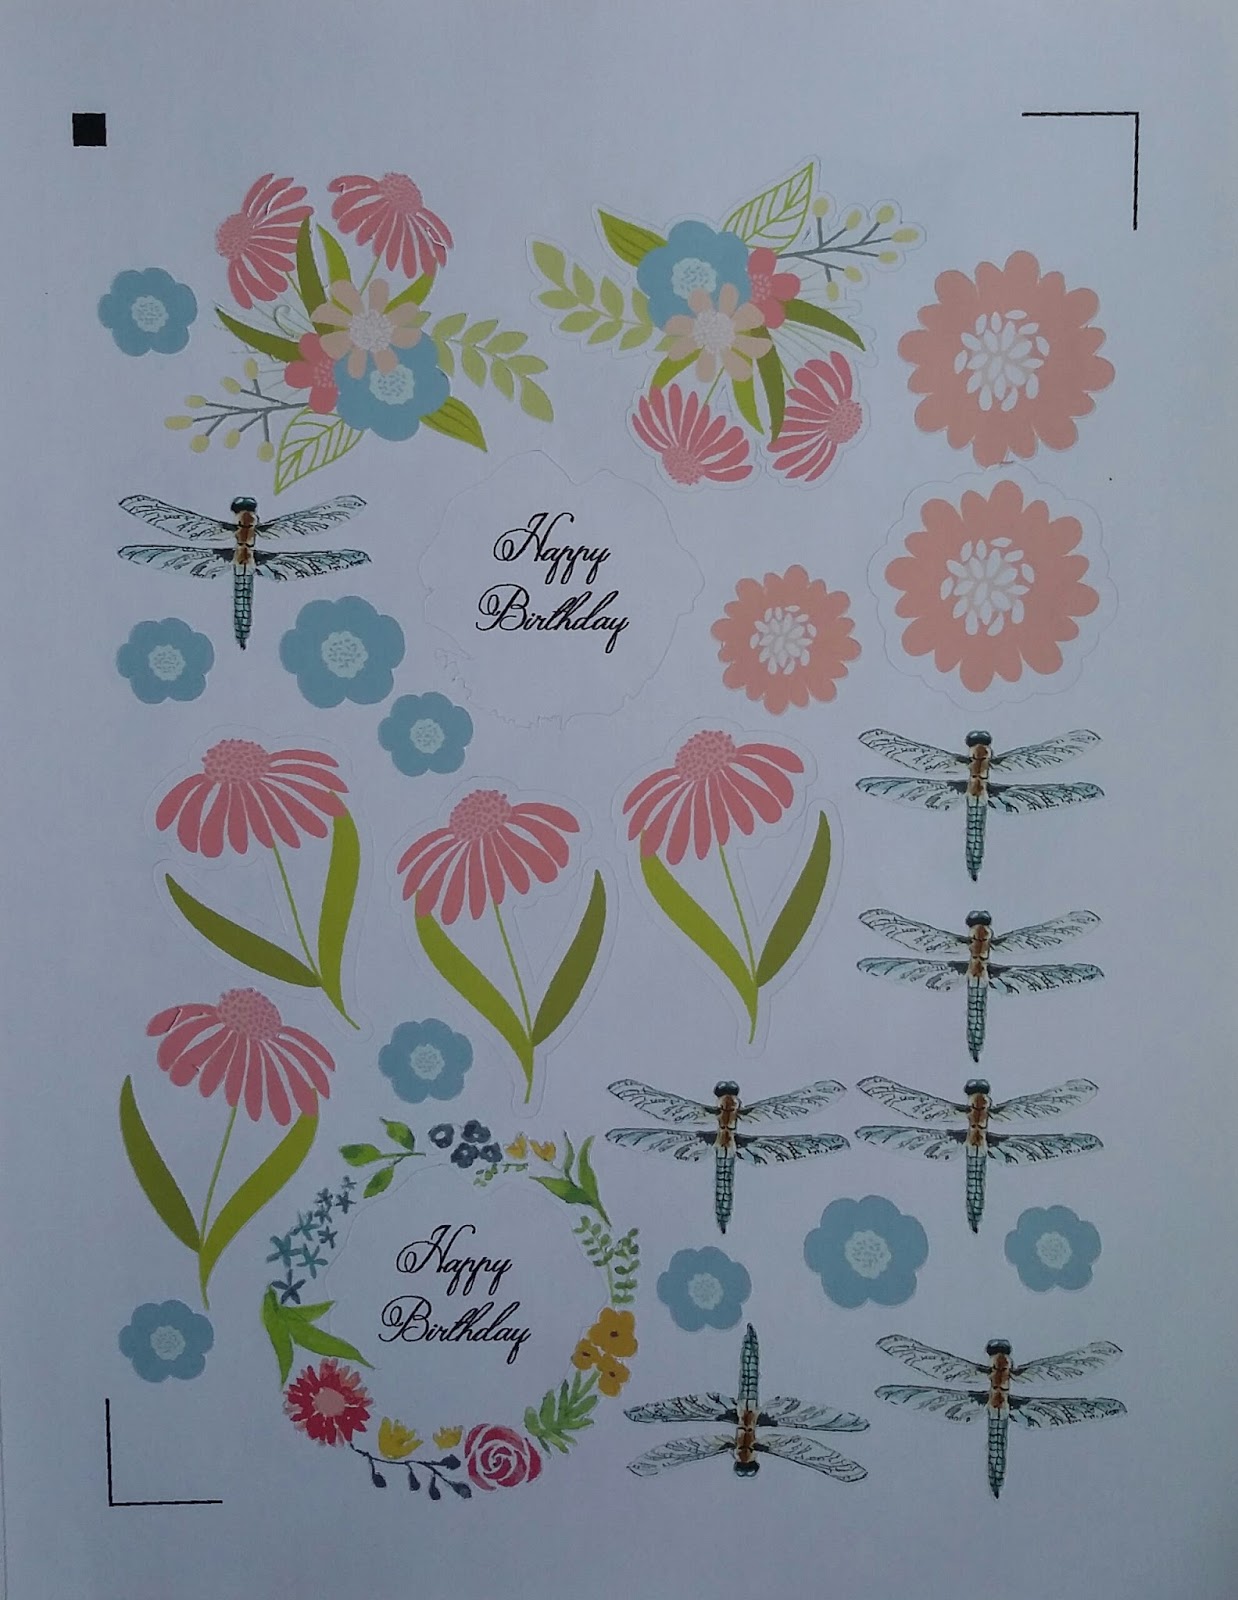
Another card and another sticker sheet
Can't stop myself this new sticker sheet will be great for fall and Christmas too and I fill in sheet with dragonflies and hummingbirds which I can always use.


Thursday, July 21, 2016
More cards made with stickers
I bought this bundle from hungry jpeg a while back they say that bundle has ended but not sure if the link I have provided would work for purchase. Anyway, their bundles are awesome and there is so much in them. Buried way down in part 2, in a file called floral compositions, I spotted an image I particularly liked. It is shown in this card. The original image is beautiful, but I pumped up the gamma , maybe I should say down not up? In the software I slid lever to left to darken a bit, then adjusted the lighting a d contrast before tracing, printing and cutting, I love the way these look on white cardstock, I wrap the stickers over top of card so I get part of back decorated, as well as adding a few to inside, and, of course decorating the envelopes makes a birthday enjoyable the moment the mail arrives.


 b
b


 b
b
Here are a few more I made over the weekend :


Sunday, July 17, 2016
quick video on tracing images for print and cut stickers
Saturday, July 16, 2016
Making cards using stickers
I have been having a ball making cards using great flowers and foliage, print and cut on full page labels, then arranging them "artfully" on cards. They are turning out great. You can see them here.
I love all of the images I have bought from Hungry JPEG, and most of the ones I have used are from here, and here. Here are a few pics




I love all of the images I have bought from Hungry JPEG, and most of the ones I have used are from here, and here. Here are a few pics


Tuesday, June 14, 2016
video silkscreening logo1
The above video might be helpful for those who want to use silkscreens on their pottery. Actually, this commission piece enabled me to use almost all of the techniques I have learned, The plate itself was made from a lowfire white clay slab, impressed with a foam texture that I made using my Silhouette Cameo. Click here to see original posting showing finished plate.
In the linked posting, you can see the foam cut I made to create the shape and decoration of the plate
One thing I didn't mention in that entry was that I did all the glazing and decorating on greenware "and" single fired the whole thing at cone 04. I wanted the front of the plate to be whiter than the clay body, so used white underglaze on the font of the plate, then silkscreened the spanish sentiment on top of the white underglaze, then used clear glaze over the whole thing.
I have made hundreds of foam cuts on my Silhouette Cameo to use with my clay and in other hobbies,
you can see many of the foam cuts here
Saturday, May 28, 2016
Stickers and cards and Cameo
Some time ago I was inspired by an image I saw for a card wish I had credit info for this, but can't seem to find where I saw it several weeks ago (maybe months) :

I had been excited to try to make some similar to this, since I had purchased a bundle of great illustrations from Hungry JPEG, really some great images and gorgeous bundles of illustrated bouquets. The link to the bundle I purchased is here
When you see the image I used, you can see how much it resembles the above inspiration.
Anyway, I tried several attempts at making stickers to do the job. Several posts ago, I mentioned how much I love the full page labels I have gotten from OnLine Labels. I have the 8.5" x 11" size as well as the larger 12" x 18" since I have a wide format printer, I wanted to have this size as well. I started out with some success which motivated me to print and cut lots of stickers, but I kept messing around until I could not get a close cut and couldn't unravel which "clever (lol)" tricks I employed as I went along. Needless to say, I got things to cut badly (I will have another post on that, I was going to trash the whole thing, but then found another way to use the messed up cuts --more on that later).
Then there was a thread on Yahoo's Silhouette Users Group with several suggestions on how to correct this problem. The best solution, as usual, came from Kay Hall here:
So today, I decided to tackle the project "again." I used the Silhouette Software and traced outer edge of image, grouped them with the print version of the Hungry JPEG image and printed them "from a saved PDF file, of this layout:


I had been excited to try to make some similar to this, since I had purchased a bundle of great illustrations from Hungry JPEG, really some great images and gorgeous bundles of illustrated bouquets. The link to the bundle I purchased is here
When you see the image I used, you can see how much it resembles the above inspiration.
Anyway, I tried several attempts at making stickers to do the job. Several posts ago, I mentioned how much I love the full page labels I have gotten from OnLine Labels. I have the 8.5" x 11" size as well as the larger 12" x 18" since I have a wide format printer, I wanted to have this size as well. I started out with some success which motivated me to print and cut lots of stickers, but I kept messing around until I could not get a close cut and couldn't unravel which "clever (lol)" tricks I employed as I went along. Needless to say, I got things to cut badly (I will have another post on that, I was going to trash the whole thing, but then found another way to use the messed up cuts --more on that later).
Then there was a thread on Yahoo's Silhouette Users Group with several suggestions on how to correct this problem. The best solution, as usual, came from Kay Hall here:
So today, I decided to tackle the project "again." I used the Silhouette Software and traced outer edge of image, grouped them with the print version of the Hungry JPEG image and printed them "from a saved PDF file, of this layout:

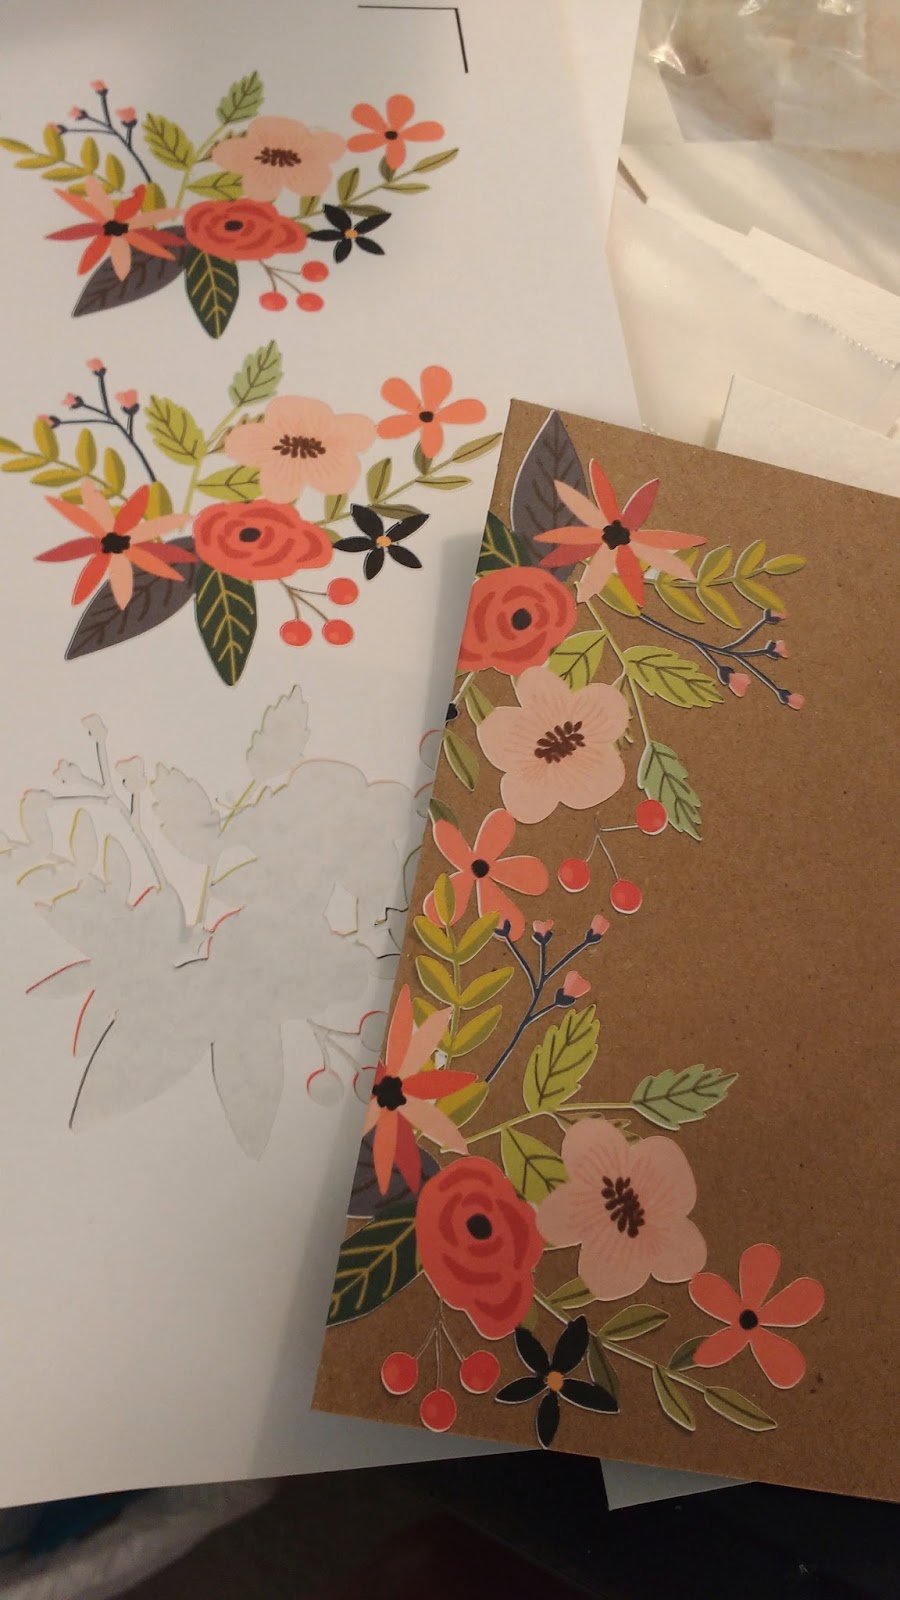
Here is the printed version from the PDF file I had saved, opened and printed

Now I can peel off the stickers and arrange them on a kraft card and envelope I made. The object was to be able to see the Kraft paper through the tiny openings of the finely cut sticker and I think I am very happy with this Finally!! I was able to fold the stickers around the edges and to the other side of both card and envelope. I won't go into all the other "failures" but with Kay Hall's instructions I could keep it simple and got the job done. Hope this helps anyone struggling with making stickers using label paper. Here also is pic of my settings, using the Silhouette blade "but" I have it set at 8, not 2 as shown on this screenshot.



Subscribe to:
Posts (Atom)